Tractor Three Point Hitch Guide (Categories, Attachment Steps & Quick Hitch Tips)
Last updated: 2/2026
Reviewed & Published By
Tractor Iron Editorial Team
"Our guides are written for real tractor owners and prioritize safety, correct setup, and practical advice."
Content Review Process
- Written using manufacturer manuals and field-proven procedures
- Cross-checked against ASABE hitch category standards
- Updated February 2026
The three-point hitch is the most important rear attachment system on compact and utility tractors. It connects rear-mounted implements like box blades, rotary cutters, mowers, tillers, and post hole diggers to the tractor using a rigid, hydraulically controlled linkage. Understanding how it works, which category matches your tractor, and how to attach implements safely saves time and prevents damage.
What Is a Three Point Hitch?
A three-point hitch is a standardized linkage system that uses three connection points to mount implements to the rear of a tractor. The system consists of:
- Two lower lift arms that connect to the bottom of the implement and are raised/lowered hydraulically
- One upper top link that connects to the top of the implement and controls the implement's pitch angle
- Together these three points form a rigid triangular connection between tractor and implement
- The system transfers implement weight to the tractor's rear drive wheels, improving traction
- Hydraulic draft control allows the operator to set working depth and the system adjusts automatically
Historical Note
The three-point hitch was invented by Harry Ferguson, who filed his original patent in 1926. The Ferguson System revolutionized tractor design by allowing implements to be rigidly mounted and hydraulically controlled, replacing the older drawbar-pull method that was unstable and less efficient. Today, virtually every compact, utility, and agricultural tractor uses a standardized version of Ferguson's three-point design.
How the Three Links Connect
┌─── Top Link ───┐
[TRACTOR] [IMPLEMENT]
├─ Lower Left ──┤
└─ Lower Right ─┘
Three attachment points form a rigid triangle. The lower arms lift hydraulically. The top link adjusts implement angle.
3 Point Hitch Categories
Three-point hitches are organized into numbered categories based on pin diameters, arm spacing, and tractor horsepower range. Your tractor's hitch category must match the implement's category for safe operation.
| Category | Lower Pin Dia. | Top Pin Dia. | Arm Spacing | Tractor HP |
|---|---|---|---|---|
| Cat 0 | 5/8" | 5/8" | 20 in. | Up to 20 HP |
| Cat 1 | 7/8" | 3/4" | 26 in. | 20-45 HP |
| Cat 2 | 1-1/8" | 1" | 32 in. | 40-125 HP |
| Cat 3 | 1-7/16" | 1-1/4" | 32-38 in. | 80-225 HP |
| Cat 4 | 2" | 1-3/4" | Varies | Heavy-duty |
Categories ensure mechanical compatibility between the tractor and implement. Reducer bushings (step-down adapters) allow using a smaller-category implement on a larger-category tractor, but the reverse is not safe. Always match category or use proper adapters.
How to Attach a 3 Point Hitch Implement
Follow these steps each time you connect a rear implement. Taking the time to connect properly prevents damage and injury.
- 1
Park on level ground, engine off, brake set
Ensure the tractor cannot roll. Remove the key.
- 2
Lower lift arms fully
Use the hydraulic control lever to bring both lower arms to their lowest position.
- 3
Loosen stabilizers so arms can swing
This gives you room to align the arms with the implement pins.
- 4
Back tractor toward implement
Align the tractor centerline with the implement. Get close enough to reach both lower arm connection points.
- 5
Attach left lower arm first, secure with linchpin
Slide the pin through the arm and implement, then install the retaining clip or linchpin.
- 6
Attach right lower arm (adjust height if needed)
Use the right-side lift crank or turnbuckle to match heights if the pin holes don't line up.
- 7
Connect top link and secure
Adjust the top link length so the implement sits approximately level. Install the pin and retaining clip.
- 8
Tighten stabilizers to reduce sway
Adjust turnbuckles or chains on both sides until the implement tracks straight with minimal lateral swing.
- 9
Raise implement slightly and test stability
Lift a few inches off the ground and check that all connections are solid and the implement hangs level.
- 10
Connect PTO if required
If the implement is PTO-driven, connect the PTO shaft following proper PTO hookup procedures.
Safety Warning
Never place hands or any body part between the tractor and implement while the engine is running. Always shut down the engine and remove the key before walking behind the tractor to make connections.
3 Point Hitch vs Drawbar
Tractors typically have both a drawbar and a three-point hitch. Understanding when to use each prevents compatibility problems and equipment damage.
| Feature | 3 Point Hitch | Drawbar |
|---|---|---|
| Attachment Style | Rigid triangle (3 links) | Single horizontal bar |
| Best For | Implements needing lift control | Pulling trailers, wagons |
| Hydraulic Control | Yes | No |
| Stability | High | Moderate |
Use the drawbar for towing trailers, wagons, and pull-type equipment. Use the three-point hitch for implements that need to be raised, lowered, and depth-controlled, such as box blades, tillers, rotary cutters, and landscape rakes.
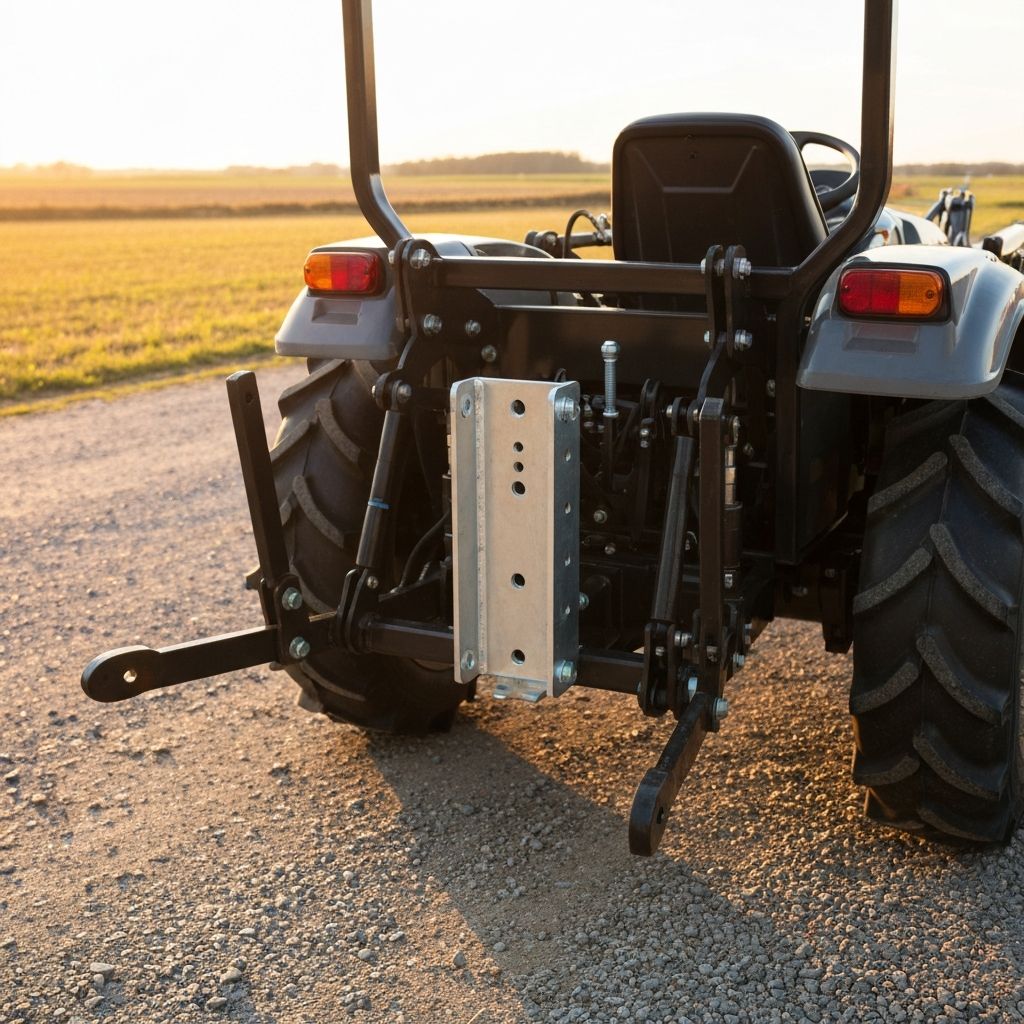
What Is a Quick Hitch?
A quick hitch is a frame adapter that mounts to the tractor's lower lift arms and allows implements to connect without manually lining up individual pins each time. Instead of wrestling with three separate connection points, you back up, hook the lower frame, and secure the top link.
- Speeds up implement changes significantly, especially if you switch attachments frequently
- Requires compatible bushings to match your hitch category (Cat 1 or Cat 2)
- Must match the hitch category of both tractor and implement
Quick hitches are popular among owners with multiple implements. Some implements may need minor modifications (like welding on quick-hitch-compatible lower pins) to work with a specific quick hitch frame.
Common Problems & Troubleshooting
| Problem | Likely Cause | Fix |
|---|---|---|
| Implement won't line up | Stabilizers too tight | Loosen stabilizers temporarily to allow arms to swing freely |
| Excess sway during operation | Stabilizers not tightened | Adjust turnbuckles or chains on both sides until sway is minimal |
| Top link too short | Incorrect length setting | Extend the top link and re-level the implement front to back |
| Pins won't fit | Wrong hitch category | Verify Cat 1 vs Cat 2 and use proper bushings if needed |
Recommended 3 Point Hitch Attachments for Small Tractors
These are the most popular and practical three-point hitch implements for compact and utility tractor owners:
- Box Blade — Grading, leveling driveways, spreading gravel, and maintaining dirt roads
- Rotary Cutter — Clearing tall grass, brush, and overgrown pasture
- Landscape Rake — Removing rocks, smoothing seedbeds, and clearing debris
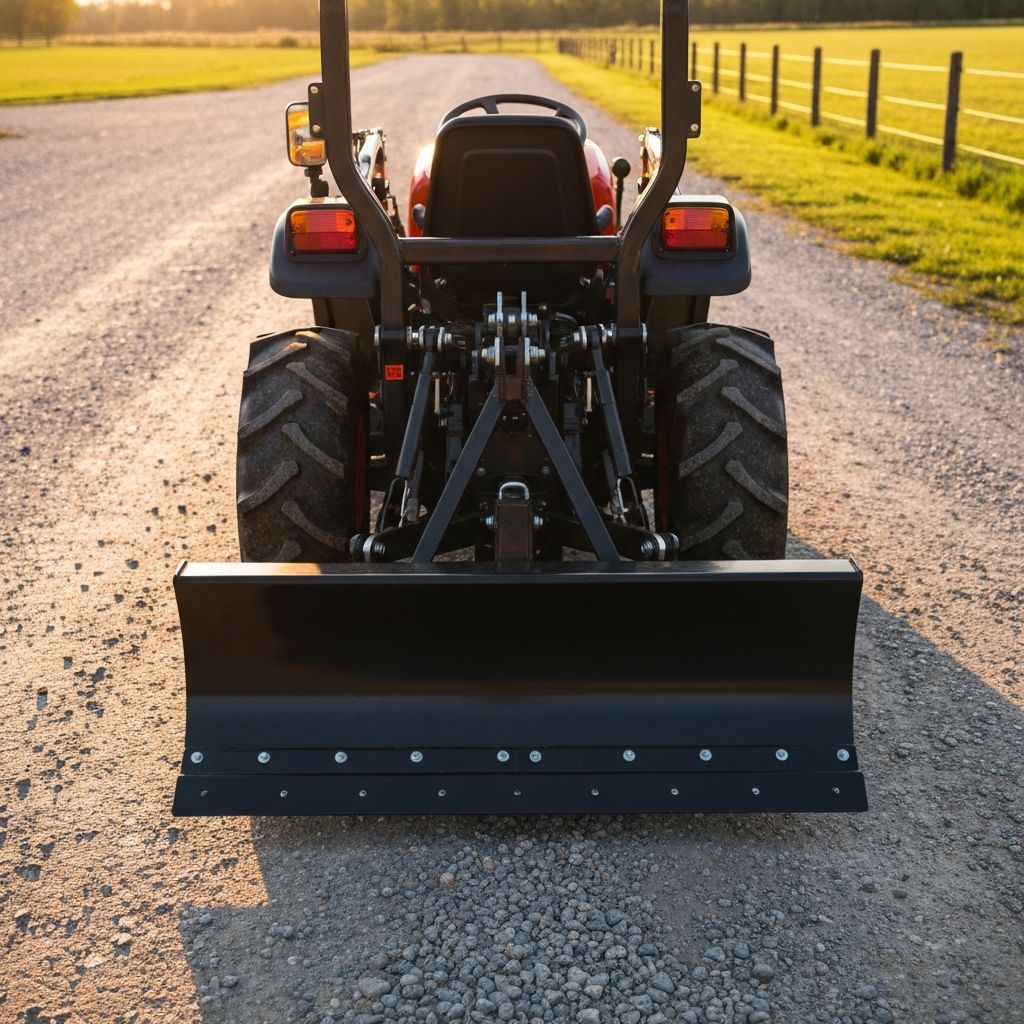
- Rear Blade — Snow removal, grading, and light material pushing
- Post Hole Digger — Drilling holes for fence posts, sign poles, and tree planting
For a more detailed breakdown of tractor attachments and compatibility, see our full tractor attachment guide.